
Beginners Guide
Hello, and Welcome to Zoho Sites!
This beginner's guide will cover all of the necessary steps to create your first website. With our easy-to-use interface, creating a website has never been so simple.
By the time you reach the end of this guide, your site will be online and ready to go. Let's begin!
Getting started
First, log in to Zoho Sites using your Zoho Account credentials. If you don't have an account with us, you'll need to create one.
To create an account:
- Go to sites.zoho.com.
- Enter an email address and password.
- Click SIGN UP.
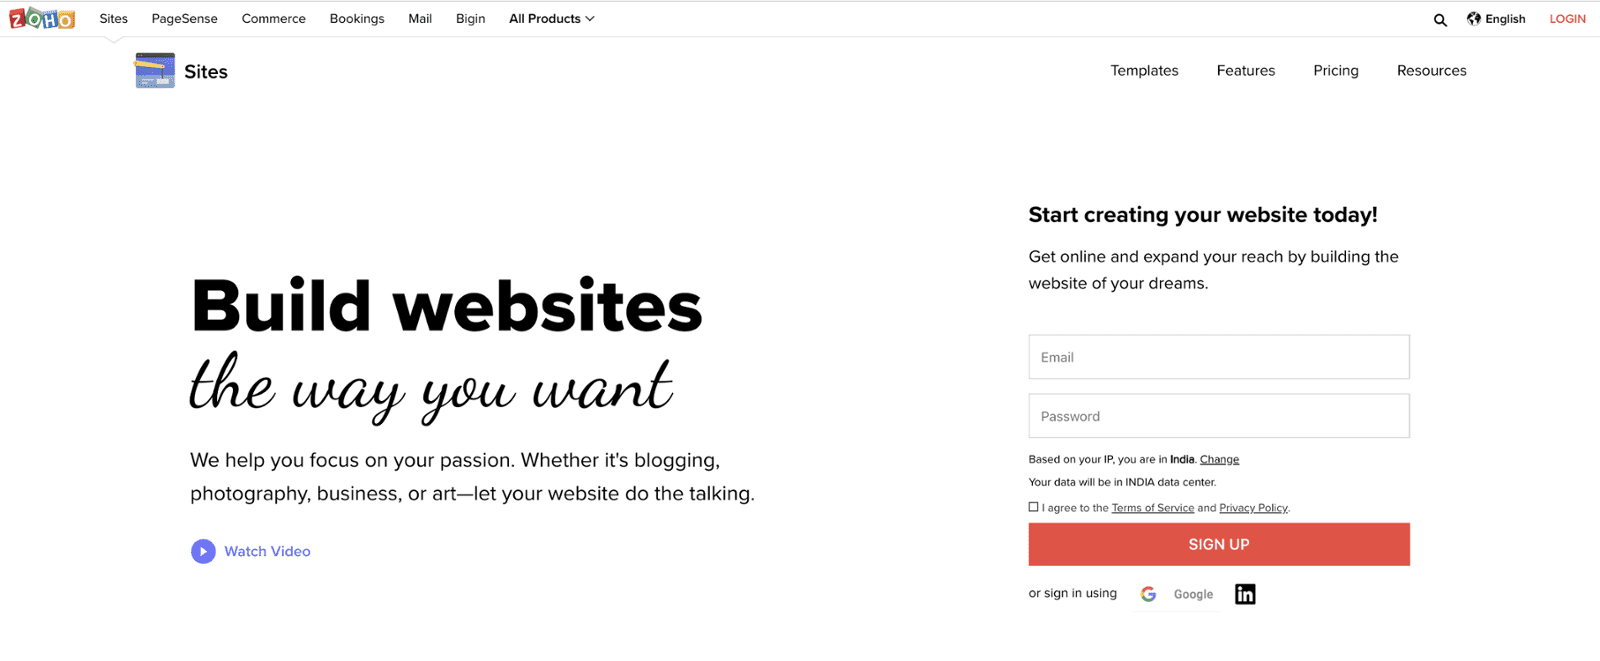
You can also sign in using your Google or LinkedIn account
Creating your website
- Click Let's begin
- Enter the name of your website, then click Template Gallery.
- Hover over the template you want to use and click Choose.
Your site will load and is ready for customization.
Notes:
- The template gallery also comes stocked with industry-based pre-designed templates. You can achieve the look of a professionally designed website instantly, with no design experience required.
- Templates can be changed at any time without affecting your content. You can change your site name at any time, as well.
Adding elements
Elements help structure the content layout on your page. Choose from a range of elements, such as Text, Images, Buttons, Dividers, Audio, Video and much more.
There are two ways to add elements to your page, depending on your preference:
- Click the Add [
 ] icon in the top-left corner of the builder, then click + Element. Next, drag and drop elements from the tray to your page.
 - Hover over the section where you would like an element to appear and click + Add Element. Then, click to select the element you would like to add to your page.
You can also access the content tray to add Sections, Apps, and Forms.
Sections
Sections are created as you add elements to your page. Sections have their own hierarchy based on the elements within, and each section can be individually customized.
Hover over the content area to access a particular section. Or click the content area and select a section from the dropdown list.
Note: Click the Add [ ] icon, then select +Element. Click Sections to access the sections content tray. From here, you can select and add sections with varying content layouts.
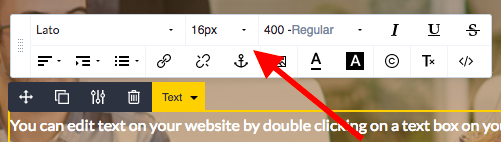
Editing elements
Reposition where elements appear by clicking on them and using the four-point arrow [ ]
]
 ].
].In addition to editing text, each element comes with its own set of customization options. You can find these tools alongside the element, after you have added it to your page. They also appear when you click an element.
Notes:
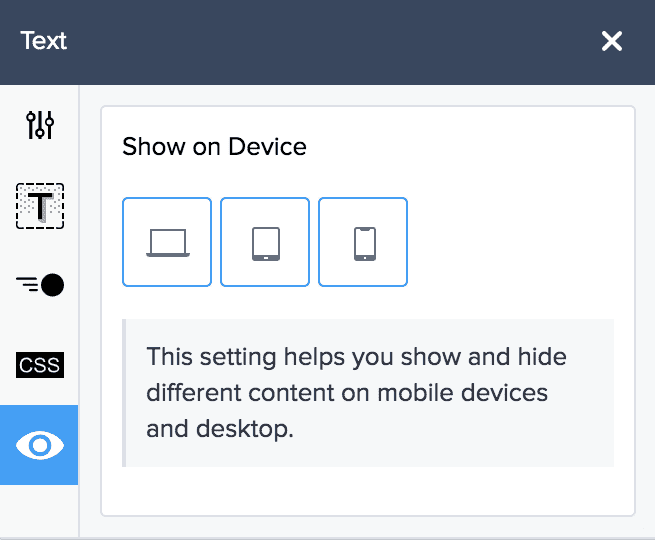
Customization options also incude Custom CSS, Animation, Style Editor and Element Visibility.
2. With Element Visibility, you can choose to either show or hide various portions of your website on different devices. This tool comes in handy if you would like to display an element on the desktop version of your website that you would not like to portray on the mobile version on your website.
If you have closed the properties box and would like for it to appear again, click the Settings icon [ ].
].

Make modifications by toggling between each tab to set properties to suit your preference.
Adding pages
- Click the Add [
 ] icon at the top-left side of the builder, then click + Page.
 - Enter a name and URL for your page.
- Click Add.
Note: You can also enable page settings such as SEO, Menu options, Header and Footer Code, Banner, and Sidebar.
Managing pages
Click Pages at the top of your builder.

Here, you will find every page, all in one place. You can browse and add pages without having to navigate to each page on the menu.
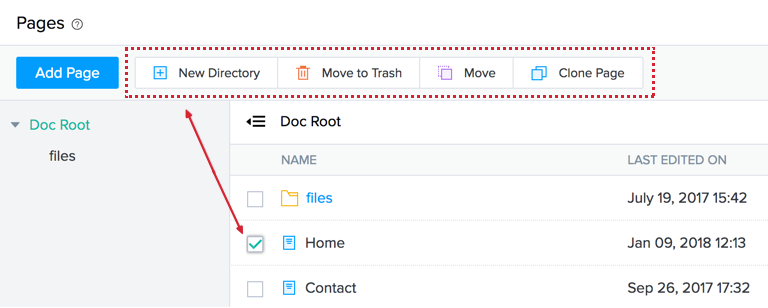
Note: To delete, move, or clone a page, click the check-box to the left of the page, then select the action you would like to perform.
Blog posts
A blog page is the best possible way to engage your audience. Blogs facilitate interaction and can potentially increase your websites visibility.
To access your blog page, click Blog in the menu at the top of your builder.

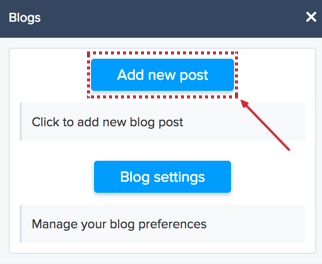
To add a new post:
1. Click Add New Post in the pop-up.
2. Select Elements to add content to the post.
3. Add Tags, select Cover Images, and schedule your post by setting these options in the pop-up box. Click Publish once you have finished.
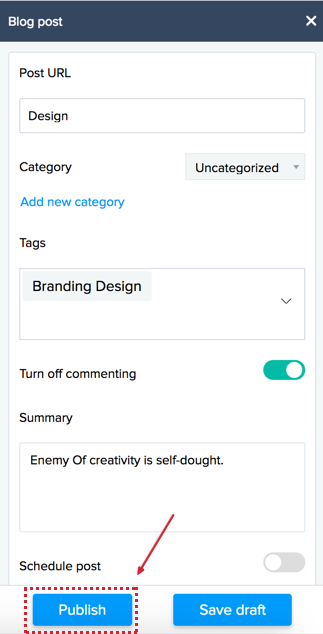
Note: Clicking Publish will post your blog. However, it won't go live until your site is published.
To manage your blog page, click Blog Settings in the pop-up.
Here, you can toggle settings for Preferences, Blog Posts, Categories, Tags and Moderation.
- Click Settings, then select Menus under the Customize section.
- Click the delete icon [
 ] and click Yes, delete it.

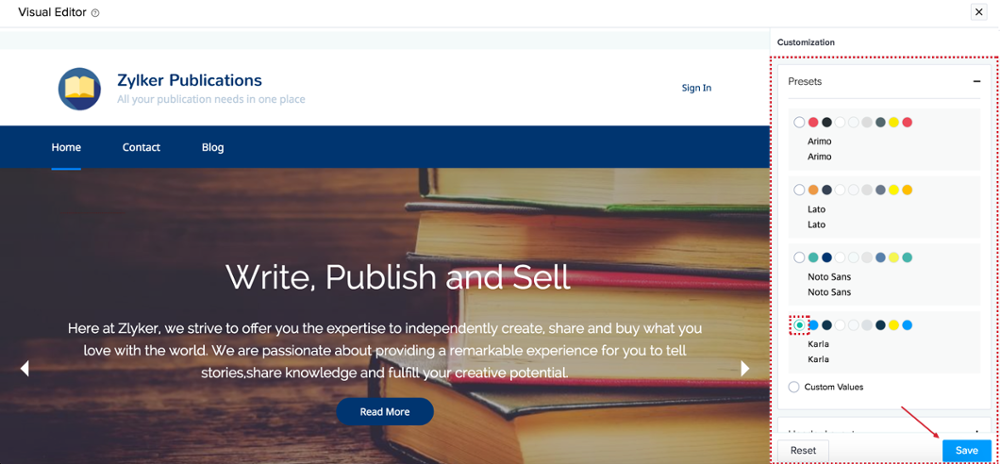
Customizing your site
Style your template just the way you like. You can make modifications to properties like Preset color, Header layout, and Banner layout without having to use complex code. Simply open the visual editor and select the desired option.
To access the Visual Editor:
- Click Settings in the top-left corner of the builder.
- Click Visual Editor under the Customize section.
- Click Save at the bottom-right corner when you are done customizing.
Access the HTML/CSS Editor if you prefer coding a template from scratch or making edits to the existing template.
- Click Settings in the top-left corner of the builder.
- Click Templates under the Customize section.
- Click Edit HTML/CSS.
Other settings
Click Settings in the top-left corner of your builder to access every setting for your site like SEO, Comment Boxes, Social Share and the likes.
Preview
View a preview of your site before you publish it to gain insight into your site's design and ease-of-use. Click the [ ] button in the top-right corner of the builder to generate a replica of your website.

Every website you create with Zoho Sites is automatically optimized for mobile. Your website will look great on phones, tablets, and desktops. You can preview your website to see how it will look on these devices.
Publish
Once you are done designing your website, you need to publish it. Users will be able to visit your website regardless of the device they are using. You can publish your website and make subsequent edits by clicking the green Publish button [ ]
]
Note: You will need a domain name before your site goes live. An ideal domain name would be one which is specific to the nature of your website. If you do not have a domain already, you will need to configure one.

Configuring your domain
When you click the Publish button for the first time, you will be able to choose from one of the following domain options:
- Create a free subdomain.
- Buy a new domain name.
- Map your existing domain name.
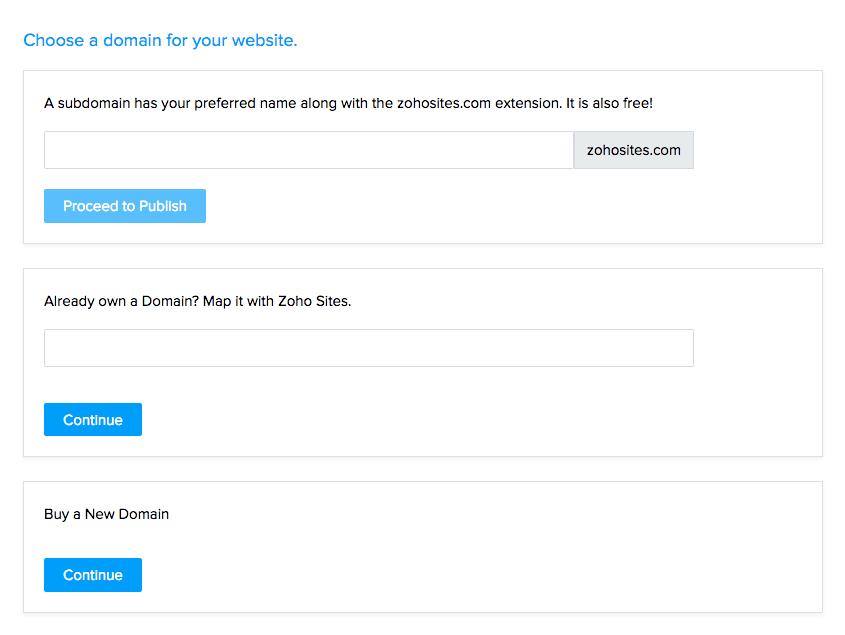
Note: If you would like to purchase a domain or map an existing domain, you can upgrade your site to one of our paid plans. If you choose to use a free subdomain, your domain name will be suffixed with .zohosites.com
Post Publish Assistance
If you've followed all of the above instructions, your first website with us should be ready to go! However, if you ever find yourself in a fix, please don't hesitate to contact our 24/5 support team. Feel free to write to us at support@zohosites.com.
Now that you've created your site, you're ready to learn even more advanced tips. Next up, more info on customizing, collaborating, and configuring!