
Blogs
A blog can be a great way to engage with your audience and attract like-minded visitors. You can create a blog and publish posts the same way you create and design a web page.
How do I...
Access blogs
To access your blog page:
- Click the Add [
 ] icon at the top of your builder.
 - Select +Blog Post from the drop down menu.
- Click Create Blog.
Customize your blog page
You can customize your blog page in the same way as any other page.
To customize your page:
- Click the default post or Add New Post in the pop-up on the right.
- Click the Add [
 ] icon in the top left corner of the builder.
 - Click +Element and drag and drop elements from the tray to your page.
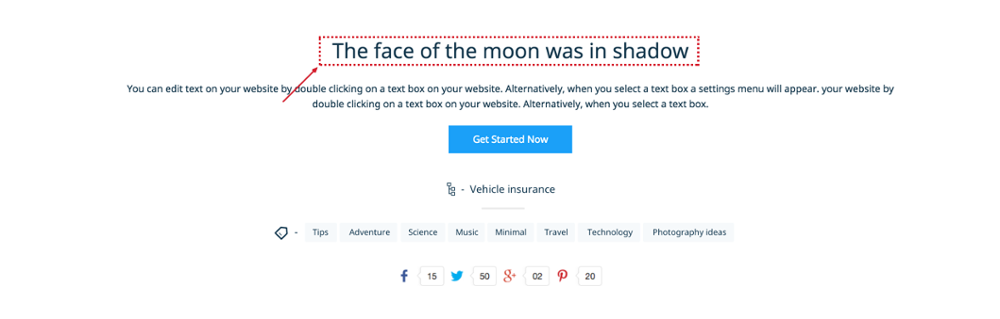
Note: To add a title to your blog, delete the filler title and enter your title.
Edit Posts
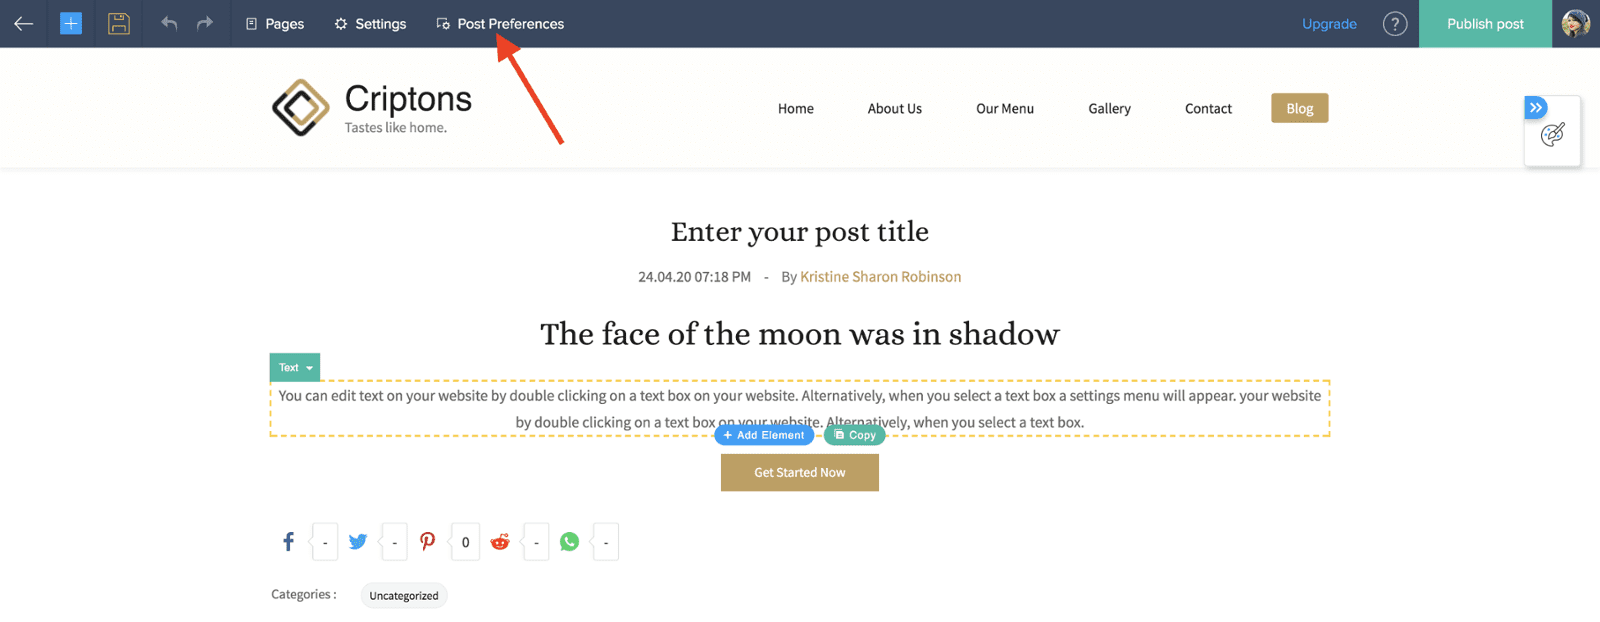
To edit your post:
- Click the default post on your blog page or Add New Post in the pop-up on the right.
- Select an option from the pop-up on the right.
Note: You can also access the pop-up by clicking on Post Preferences at the top of your builder.
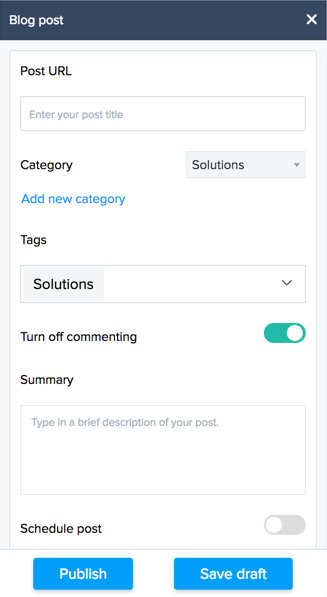
Post URL
Enter a URL for your post in this text box.
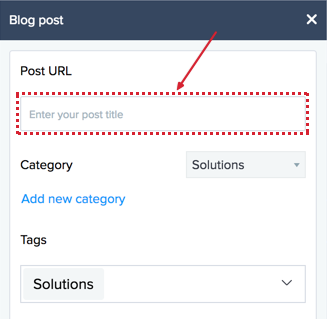
Category
- Click Add new category.
- Enter a category name and URL.
- Click OK.
- Click the dropdown and select a category for your post.
- Click Save draft.
Tags
Enter tags for your post in this text box.

Commenting
Click this switch to turn commenting on or off.
Summary
The first few lines of your post are displayed by default. Enter text in the summary text box to customize the summary to display.
Schedule Post
- Click the Schedule Post switch.
- Click the box next to the calendar icon and select a date from the calendar.
- Click the Clock [
 ] icon at the bottom of the calendar and set a time.
 - Click Done, click OK, then click Schedule post.
Set cover image
- Click Set cover image.
- Either drag and drop files or click Upload to add images.
- Click Save then click Save draft.
Note: Your cover image will be displayed when your site is published.
Publish/Update
Click Publish or Update to push your post live or publish an update.

Save Draft
Click Save Draft to save your post so you can work on it later.
Add new post
To add a new post:
- Go to your blog page.
- Click Add New Post in the pop-up on the right.
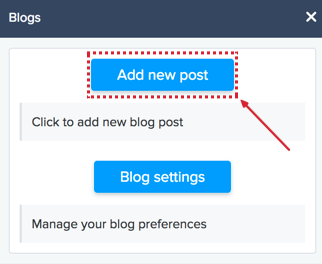
Access Blog Setting
To change blog preferences:
- Go to your blog page.
- Click Blog Settings in the pop-up on the right.
- Select a setting from the menu on the left.
Preferences
Click this option to make changes to your blog's general settings.
Note: You can set your blog as your home page, so it'll be the first page your visitors will land on. This option also enables bloggers to create a website just for blog posts. Once you set your blog as your home page, you can delete your other pages and your blog site is ready to go.
Blog Settings
Enter a title for your page to appear in your menu. Set the number of posts per page, style, and alignment. Choose to turn social share and show count on or off.
Import and Export Blog
Click Upload File next to the Import blog option to add a blog from your computer.
Click Export Blog to Wordpress to upload your blog from your website to your wordpress site.
Delete Blog
Click Delete Blog to permanently erase your blog and posts.
Note: All published posts will be lost when you delete your blog.
Blog Posts
Keep track of the posts you have created. Click Edit Post to make edits and click the delete [ ] icon to remove your post.

You can also optimize your blog page, categories, and tags with our in-built SEO tools.
To access your blog page SEO tools:
- Click Settings at the top of your builder.
- Click Preferences below the Blog section.
- Add a title and description in the SEO text boxes.
- Click Save.
Categories
Click Add Categories to add a new category for your post. Click Rename to change the name of that category.
Click the delete [ ] icon to delete that particular category.

To access your blog category SEO tools:
- Click Settings at the top of your builder.
- Click Categories below the Blog section.
- Click Add Category in the top-right corner of your builder.
- Enter a Category name and URL. You can also enter a title and description.
- Click OK.
Tags
Click Add Tag to add a new tag to your post. Click Rename to change the name of that category. Click the delete [ ] icon to delete that particular category.

To access your blog tags SEO tools:
- Click Settings at the top of your builder.
- Click Tags below the Blog section.
- Click Add Tag in the top-right corner of the builder.
- Enter Tag name and URL you can also enter a title and description.
- Click OK.

Note: Make sure the title and keywords you enter are relevant to the content and theme of your blog.
Access Moderation
Use moderation to mediate your blog comments.
- Click Settings at the top of your builder.
- Click Moderation in the Blog section.
- Apply filters and actions for the comments. Click the dropdown to choose how many comments are shown per page.
- Click Apply when you are satisfied with your changes.
