Code Customization
Code Snippets are small bits of code which can be added to enhance your website. You can insert widgets and script from source providers to your site. This help page contains snippets which are most requested, you can apply them site-wide by adding them to the header and footer portions of website or on particular pages using the Code Snippet element.
Copy and paste the code below to your sites' header/footer code. If you want it only in specific pages then add in the page specific header/footer code boxes.
1 2 3 4 5 6 7 8 9 10 11 12 13 14 15 16 17 18 19 20 21 22 23 24 25 26 27 28 29 30 31 32 33 34 35 36 37 38 39 40 41 42 43 | <style> .rounded-floating-btn { position: fixed; right: 20px; width: 50px !important; height: 75px !important; bottom: 20px; padding: 15px; z-index: 5; border-radius: 2px; cursor: pointer; background-color: #101010; box-shadow: 0 0 25px rgba(0, 0, 0, 0.3); color: #fff; font-size: 70%; font-weight: 400; } .floated-btn-svg-icon { width: 20px; fill: #fff; margin: 0 auto; margin-top: 3px; } .rounded-floating-btn .zptext { margin-top: 3px; } </style> <script> window.onload=function(){ var div = document.createElement('div'); div.innerHTML='<div class="zpelem-box zpelement zpbox-container zpdefault-section zpdefault-section-bg rounded-floating-btn" data-background-type="none" style="display:none" id="scrollToTop"><div class="floated-btn-svg-icon"><svg xmlns="http://www.w3.org/2000/svg" viewBox="0 0 268.831 268.832"><path d="M223.255 83.659l-80-79.998c-4.881-4.881-12.797-4.881-17.678 0l-80 80c-4.883 4.882-4.883 12.796 0 17.678 2.439 2.44 5.64 3.661 8.839 3.661s6.397-1.221 8.839-3.661l58.661-58.661v213.654c0 6.903 5.597 12.5 12.5 12.5 6.901 0 12.5-5.597 12.5-12.5V42.677l58.661 58.659c4.883 4.881 12.797 4.881 17.678 0 4.882-4.881 4.882-12.795 0-17.677z"></path></svg></div><div class="zptext zptext-align-center"><p>TOP</p></div></div>'; div.addEventListener('click',function(e){ e.preventDefault(); window.scrollTo(0,0); }) document.body.appendChild(div); } window.onscroll = function() { var threshold = 50; // Pixels after the scrol to top should show var scrollToTop = document.getElementById('scrollToTop') scrollToTop.style.display = (document.body.scrollTop > threshold || document.documentElement.scrollTop > threshold) ? 'block' : 'none'; }; </script> |
Copy and paste the code below to your sites' header/footer code. If you want it only in specific pages then add in the page specific header/footer code boxes.
1 2 3 4 5 6 7 8 9 10 11 12 13 | <script> function closeAccordian(){ var accordianHeader = $D.getByClass('zpaccordion-active') var accordianContent = $D.getByClass('zpaccordion-active-content') for(var i=0;accordianHeader.length>0;){ $D.removeClass(accordianHeader[i],'zpaccordion-active') } for(var i=0;accordianContent.length>0;){ $D.removeClass(accordianContent[i],'zpaccordion-active-content') } } document.addEventListener("DOMContentLoaded",closeAccordian) </script> |
Copy and paste the code below to your sites' header/footer code. If you want it only in specific pages then add in the page specific header/footer code boxes.
1 2 3 4 5 6 7 8 9 10 11 12 13 | <script> function closeTabs(){ var tabHeader = $D.getByClass('zptab-active') var tabContent = $D.getByClass('zptab-active-content') for(var i=0;tabHeader.length>0;){ $D.removeClass(tabHeader[i],'zptab-active') } for(var i=0;tabContent.length>0;){ $D.removeClass(tabContent[i],'zptab-active-content') } } document.addEventListener("DOMContentLoaded",closeTabs) </script> |
1 2 3 | .theme-blog-category-column .theme-blog-category-container.theme-blog-rss-feed { display: none; } |
Copy and paste the code below to your sites' header/footer code. If you want it only in specific pages then add in the page specific header/footer code boxes.
1 2 3 4 5 6 7 8 9 10 11 12 13 14 15 16 17 18 19 20 21 | <script type="text/javascript"> var count = 0; var autoFillFunction = setInterval( function() { count++; var formElement = document.querySelector("[elname='<form_link_name>']"); if(formElement != null) { var paramString = window.location.search.substr(1), paramArray = paramString.split("&"); for(var i=0; i<paramArray.length; i++) { var fieldName = paramArray[i].split("=")[0]; var fieldValue = paramArray[i].split("=")[1]; var autoFillElement = formElement.querySelector("[name='" + fieldName +"']"); autoFillElement.value = fieldValue; } clearInterval(autoFillFunction); } else if(count > 4) { clearInterval(autoFillFunction); } },2000); </script> |
Create a code snippet element in the place you want the blog list and paste the below code
1 2 3 4 5 6 7 8 9 10 11 12 13 14 15 16 17 18 19 20 21 22 23 24 25 26 27 28 29 30 31 32 33 34 35 36 37 38 39 40 41 42 43 44 45 46 47 48 49 50 51 52 53 54 55 56 57 58 59 60 61 62 63 64 65 66 67 68 69 70 71 | <script src="https://cdnjs.cloudflare.com/ajax/libs/mustache.js/3.1.0/mustache.js"></script> <div id="template" style="display:none"> <div data-element-type="row" class="zprow zpalign-items-flex-start zpjustify-content-flex-start "> {{#blog_list}} <div data-element-type="column" class="zpelem-col zpcol-md-4 zpcol-sm-12 zpalign-self- zpdefault-section zpdefault-section-bg "> <style type="text/css"></style> <div data-element-type="heading" class="zpelement zpelem-heading "> <style></style> <h3 class="zpheading zpheading-style-none zpheading-align-left " data-editor="true"><a href="{{link}}">{{title}}</a></h3> </div> <div data-element-type="text" class="zpelement zpelem-text "> <style></style> <div class="zptext zptext-align-left " data-editor="true"> <p>{{{description}}}</p> </div> </div> <div data-element-type="button" class="zpelement zpelem-button "> <style></style> <div class="zpbutton-container zpbutton-align-left"> <style type="text/css"></style><a class="zpbutton-wrapper zpbutton zpbutton-type-primary zpbutton-size-md zpbutton-style-none " href="{{link}}" target="_blank"><span class="zpbutton-content">Read More</span></a> </div> </div> </div> {{/blog_list}} </div> </div> <script> function renderList(list) { var template = document.getElementById('template').innerHTML; var rendered = Mustache.render(template, list); document.getElementById('list').innerHTML = rendered; } function getFeeds() { $X.get({ url: '/blogs/feed', handler: function() { var result = this.responseText; if (window.DOMParser) { parser = new DOMParser(); xmlDoc = parser.parseFromString(result, "text/xml"); } else // Internet Explorer { xmlDoc = new ActiveXObject("Microsoft.XMLDOM"); xmlDoc.async = false; xmlDoc.loadXML(result); } var items = xmlDoc.getElementsByTagName('item'); renderList({ blog_list: itemsToJSON(items) }) } }); } function itemsToJSON(items) { var blog_list = []; for (var i = 0; i < items.length; i++) { var blog_post_json = {}; var blog_post = items[i]; var children = blog_post.children; for (var j = 0; j < children.length; j++) { var tagName = children[j].tagName; blog_post_json[tagName] = children[j].textContent; } blog_list.push(blog_post_json); } return blog_list; } document.addEventListener('DOMContentLoaded', getFeeds); </script> <div id="list">Loading...</div> |
Copy and paste the code below to your sites' header/footer code. If you want it only in specific pages then add in the page specific header/footer code boxes.
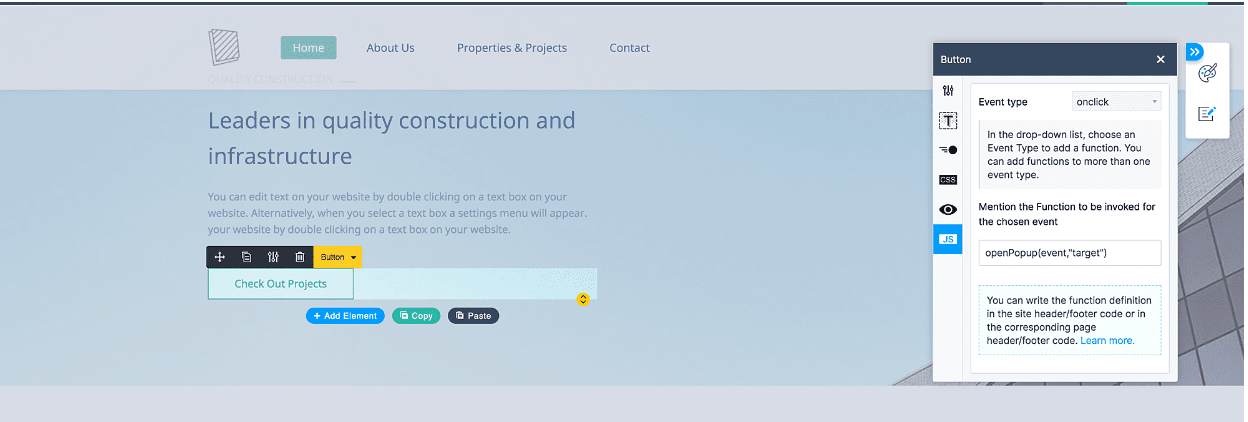
Step 2: Add below code in footer code section of your site.
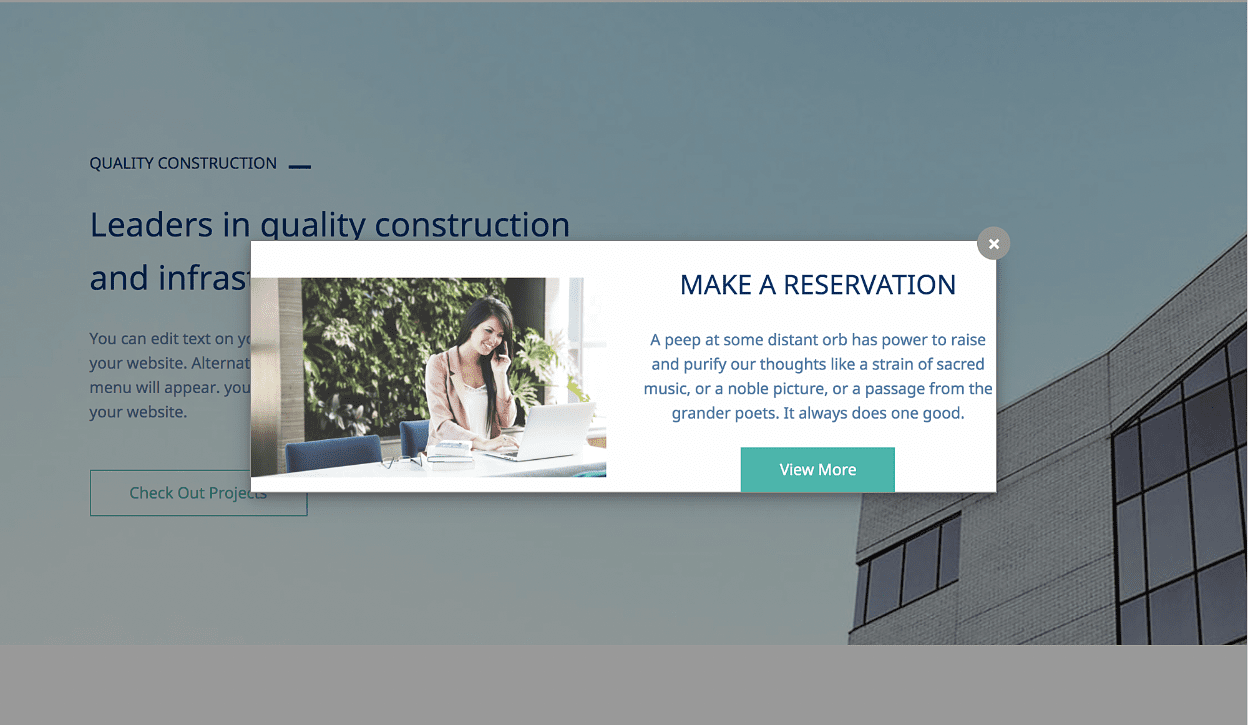
<div id="myModal" class="modal"><div class="modal-content"></div></div>
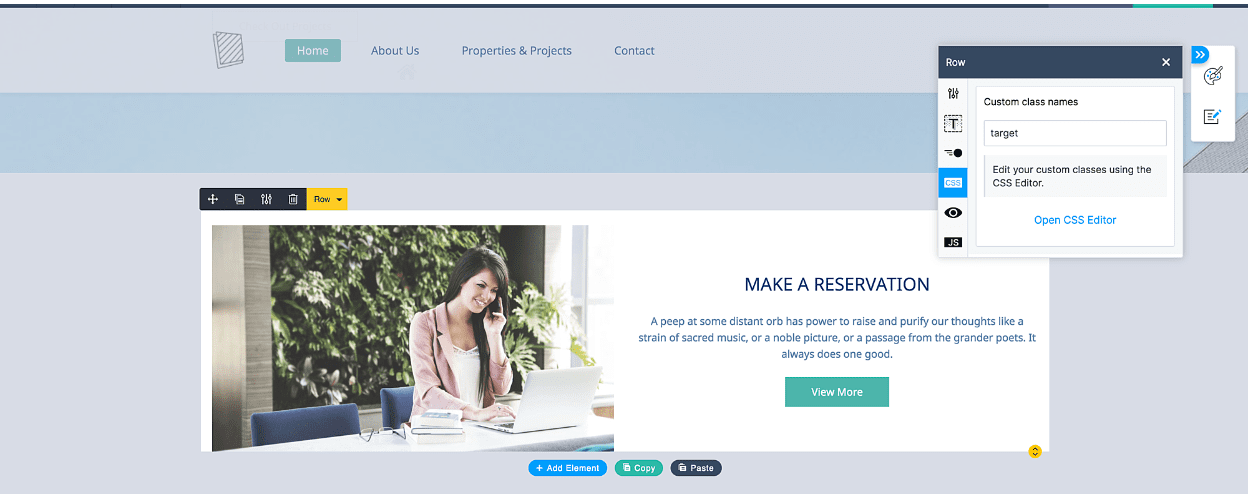
Step 3: Add below code in custom css file
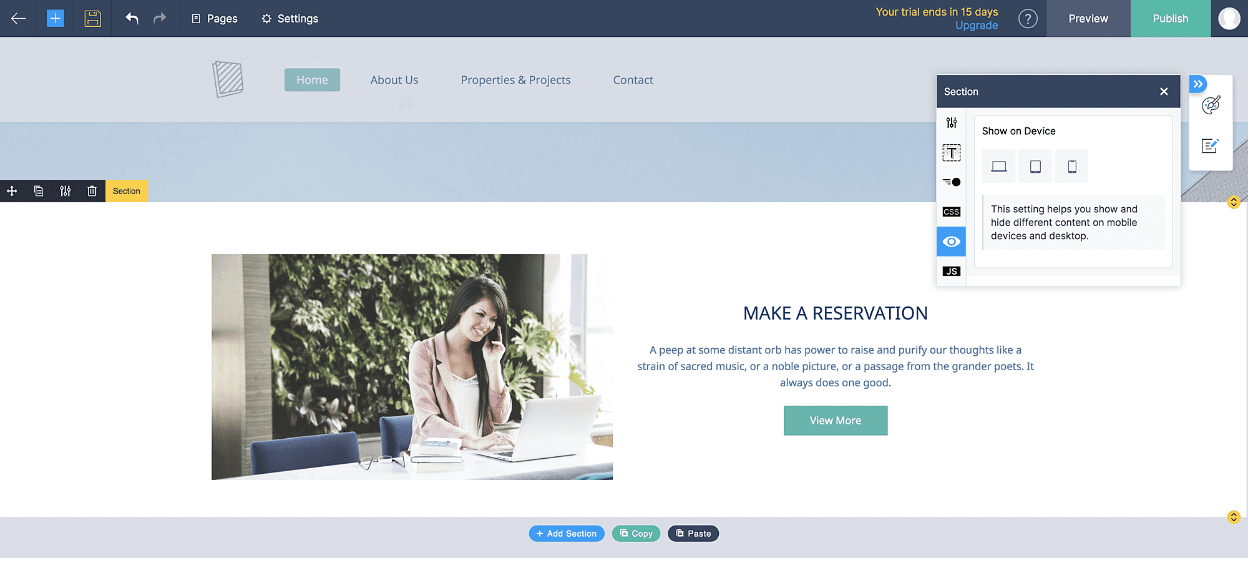
Step 4: Add a section and make visibility as hidden in all devices as below