
Pages
Pages are a great way to drive traffic to your website. Use built-in customization tools to creatively display content on your pages.
How do I...
Add Pages
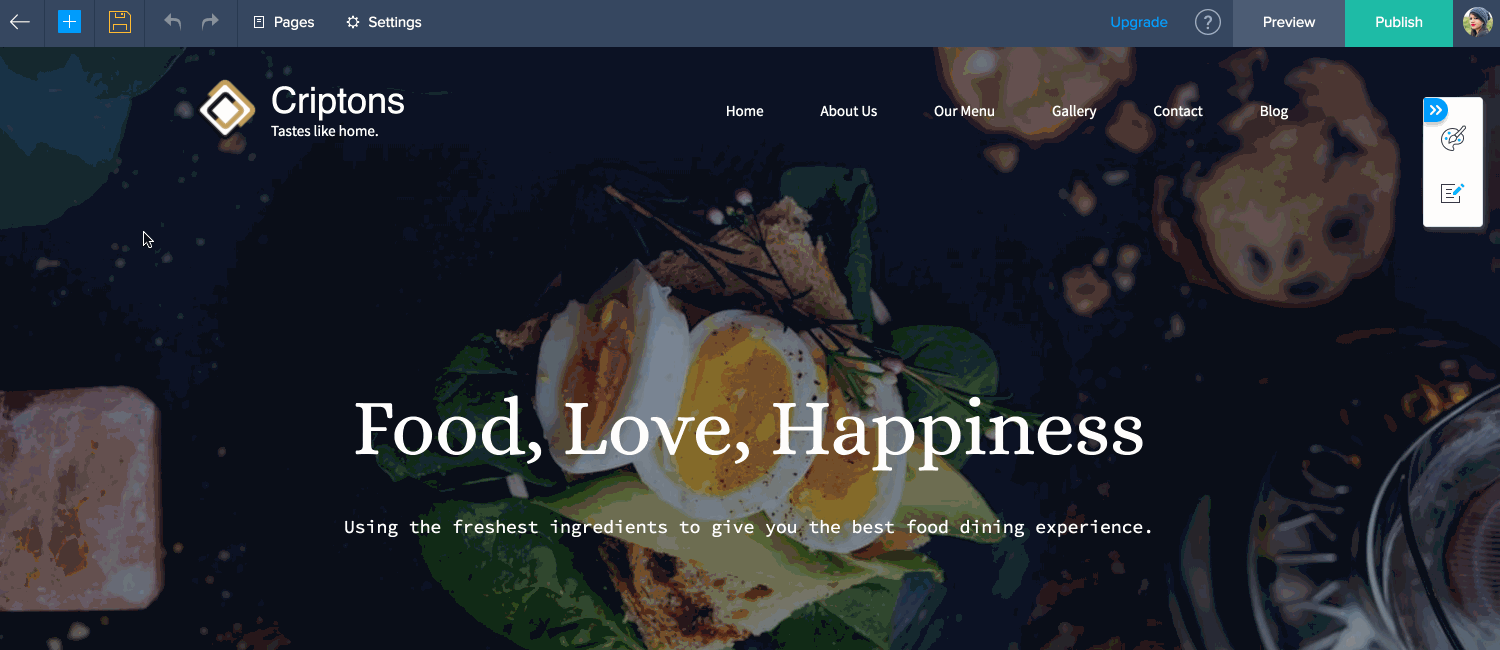
Every theme in your builder has three pages by default: Home, Contact, and Blog. You can add more pages when required.
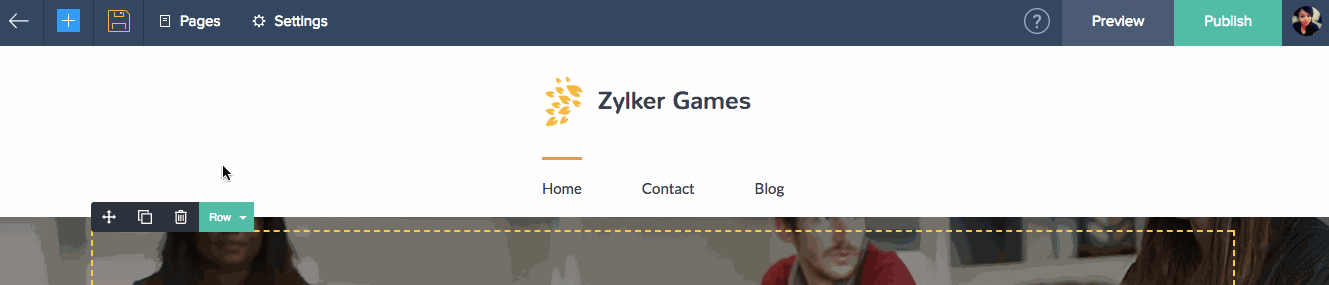
- Click the Add icon [
 ] in the top-left corner of your builder.
 - Click Page in the dropdown list.
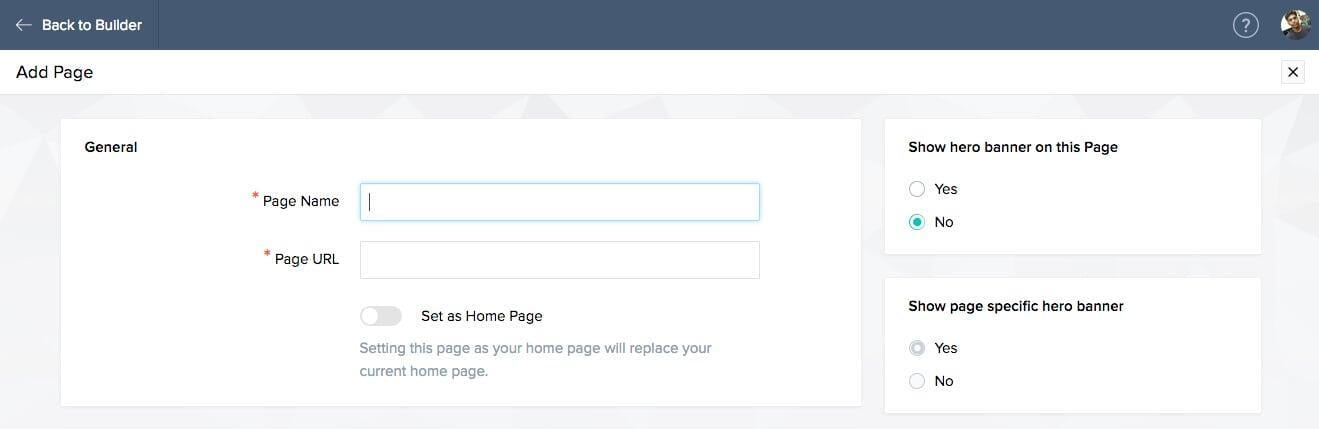
- Enter a Page Name and Page URL (you can use the suggested URL or enter your own).
- Click the Set as Home Page switch if you would like this page to the first one your visitors see.
- Click Save.
After entering essential page details, choose from settings such as General, SEO, Options, and Header and Footer. These options help you change the look and feel of your website. The SEO options Ensure that even if your website doesn't rank as high on Google, your pages can.
General
The general section is for entering fundamental page details such as Page Name and Page URL.
SEO
Use the built-in Search Engine Optimization tools to help increase your web page's ranking in search results.
- Click SEO from the menu on the left.
- Enter a title for the page. This title will be the name that appears in the search results.
- In the Keywords section, enter any words or phrases (separated by commas) that your visitors might use to find your site.
- Add a few lines describing your page in the Description box.
- Select Robots using the checkboxes.
- The NoIndex tag tells search engines not to display the page in search results.
- The NoFollow tag tells search engines not to follow the links on the page.
- The NoArchive tag tells search engines not to store a cached copy of the page.
- Click the Sitemap XML switch to allow search engines to crawl and index your pages easily.
- Click Save.
Note: On clicking the Sitemap XML switch, you can select the frequency and priority of your page. The frequency indicates how periodic your page edits are. The page with higher priority will have better chances of getting indexed in search results above other pages of your site.

Options
Make edits to your Banner, Menu, and Side Bar settings in this section.
Banner
The banner area (also known as Hero) is a place where you can display important content. The banner appears on every page of your site.
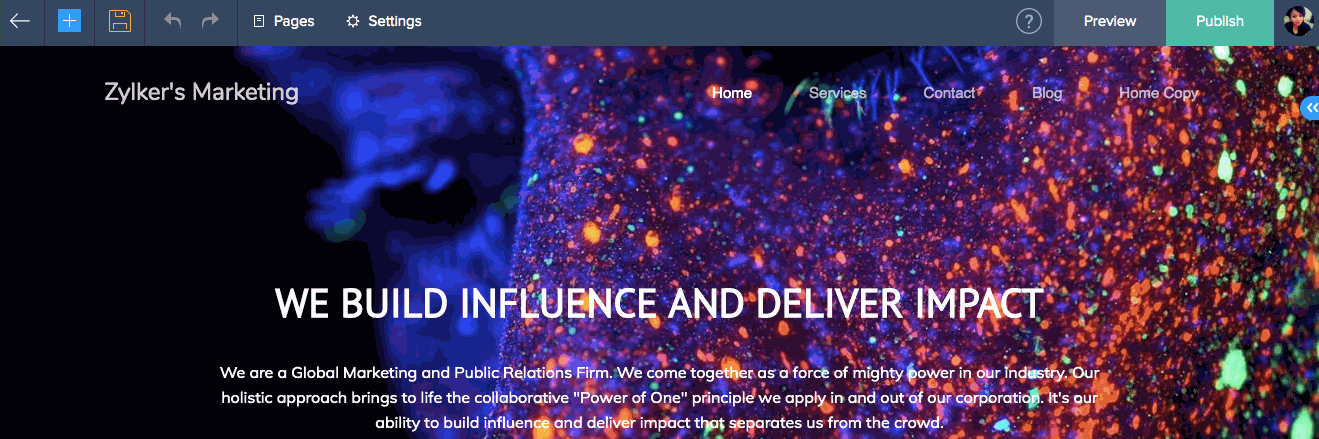
Menu
The menu helps with page navigation. Users can click the tabs to access other pages on your site. Similar to the banner, the menu appears site wide.
Side Bar
The sidebar is an area on the side of the page where you add important content such as directories, ad's, menus, or accompanying text.
To show or hide these features on your page:
- Click Options from the menu on the left.
- Click either Yes or No to the right of the corresponding feature based on your preference.
- Click Save.
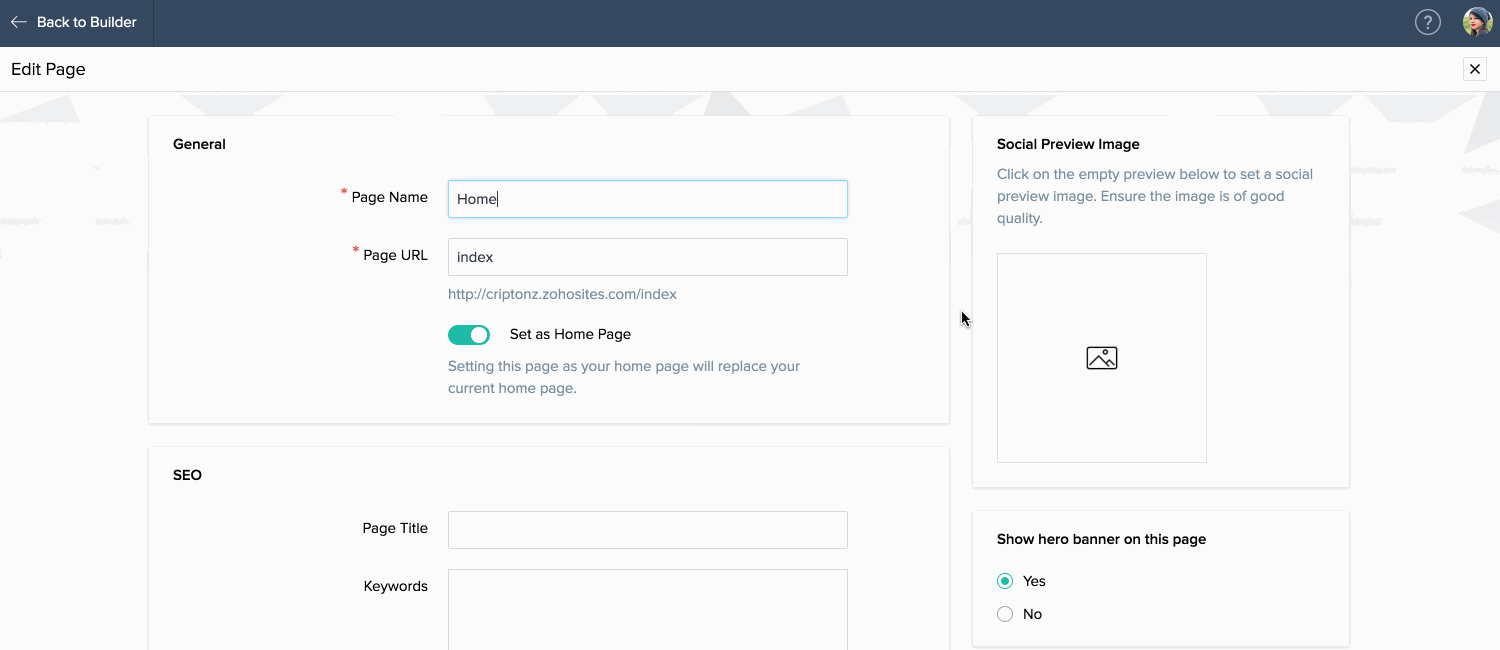
Note: Social Preview Image
Social Preview Images are displayed when you share a URL of your website or web page through any platform. You can set a site level image, which will be displayed when the URL of your site is shared. You can also set page level images which can be set to give visitors context of what the page is about when that particular URL is shared.
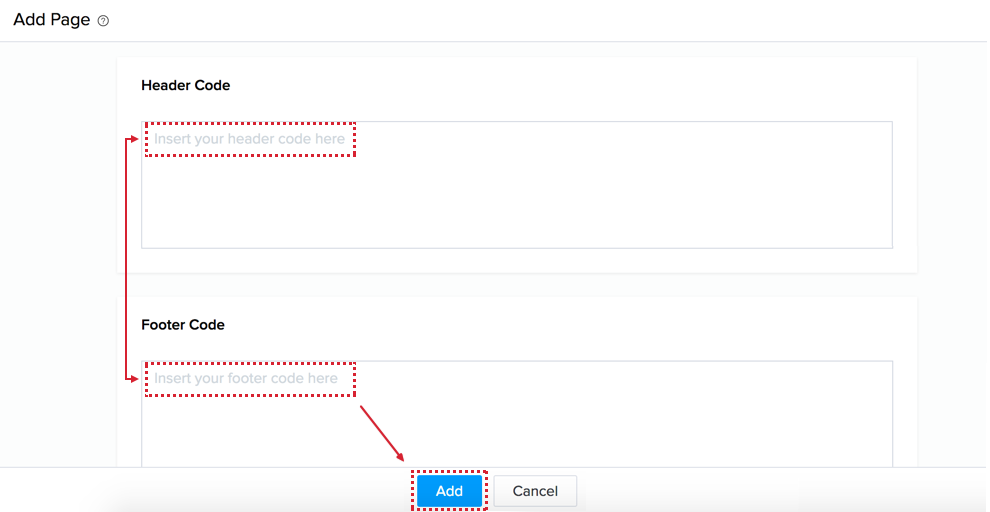
Header and Footer Code
Use this option to add codes such as Google Analytics, Snippets, and Translator widgets from third party providers.
To add header and footer code:
- Click Header and Footer Code from the menu on the left.
- Paste the code in the header or footer section, based on your requirement.
- Click Save.
Hide Page Menu
To hide menu from the entire site:
- Click Settings at the top of your site.
- Click Preferences under the General Menu.
- Click Hide for the Menu option.
- Click Save.
Create a Subpage
Create subpages to form page hierarchy within your site.
To create subpages:
- Click Settings at the top of your builder.
- Click Menu under Customize section.
- Drag and drop the page to the right of the desired parent page.
- Click Save.
Note: You can have up to three levels of subpages with an unlimited amount of pages within.
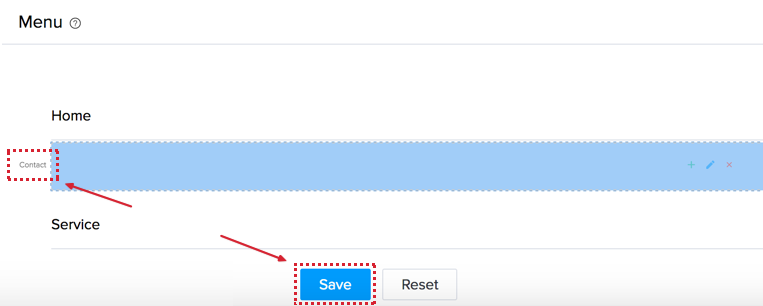
Reorder pages
- Click Settings at the top of your builder.
- Click Menus under the Customize section.
- Click and hold the page name, then drag and drop pages in the order that you prefer.
- Click Save at the bottom of the screen.
Hide Pages
To hide pages from your menu:
- Click Settings at the top of your builder.
- Click Menus below the Customize section.
- Click the delete
 icon to the right of the menu item you would like to delete.
 - Click Yes, Delete It.
Your page will be hidden from the menu.
Note: To unhide the page:
- Click Settings at the top of your builder.
- Click Menus below the Customize section.
- Click Add Menu Item at the top right corner of your builder.
- Enter a name for the menu item and select a page
- Click Save.

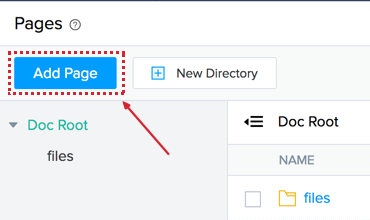
Manage Pages
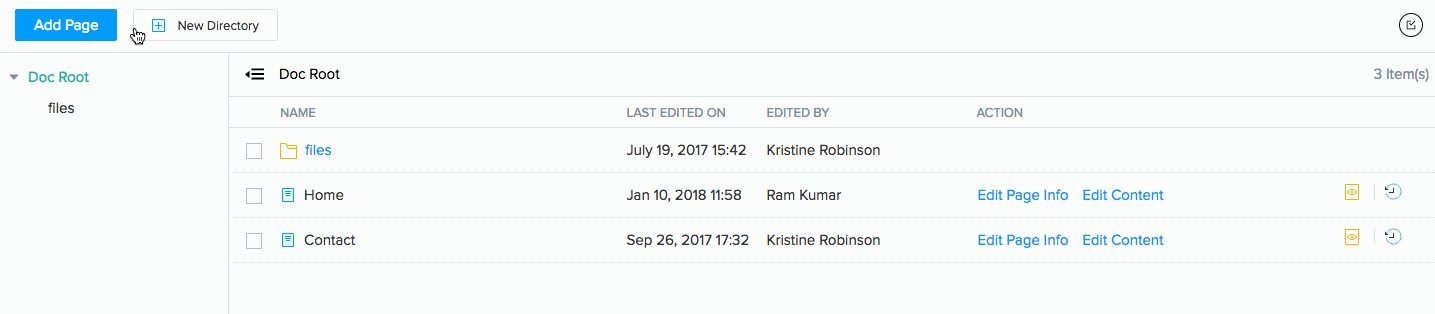
Click Pages at the top of your builder to access your page directory.

Note: You can also add pages through the directory.
- Click Pages at the top of your builder.
- Click the Add Page button in the top-left corner.
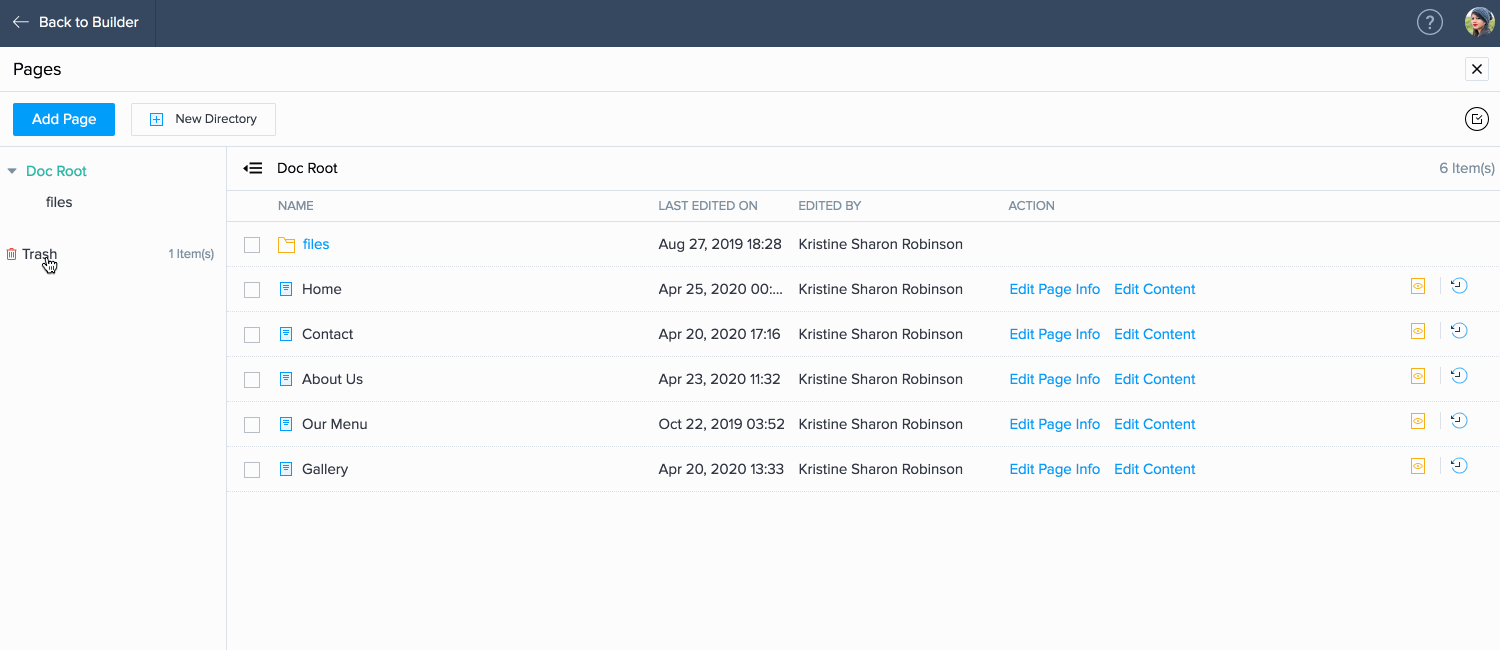
Move to Trash
- Click Pages at the top of your builder.
- Click the checkbox to the left of the page that you would like to remove.
- Click Move To Trash at the top-left of the directory.
Note: To restore a removed page:
- Click the Trash option to the left of the directory.
- Click the checkbox to the left of the page that you would like to restore.
- Click Restore in the top-left corner.
To permanently delete a page:
- Click the Trash option to the left of the directory.
- Click the checkbox to the left of the page that you would like to delete.
- Click Delete in the top-left corner.
- Click Yes, Delete It.
Move
- Click Pages at the top of your builder.
- Click the checkbox to the left of the page that you would like to move.
- Click Move at the top-left of the directory.
- Select the file directory you would like to move the page to.
- Click OK.

Clone Page
- Click Pages at the top of your builder.
- Click the checkbox to the left of the page that you would like to clone.
- Click Clone Page at the top of the directory.
- You may edit the page name or URL if required.
- Click OK.
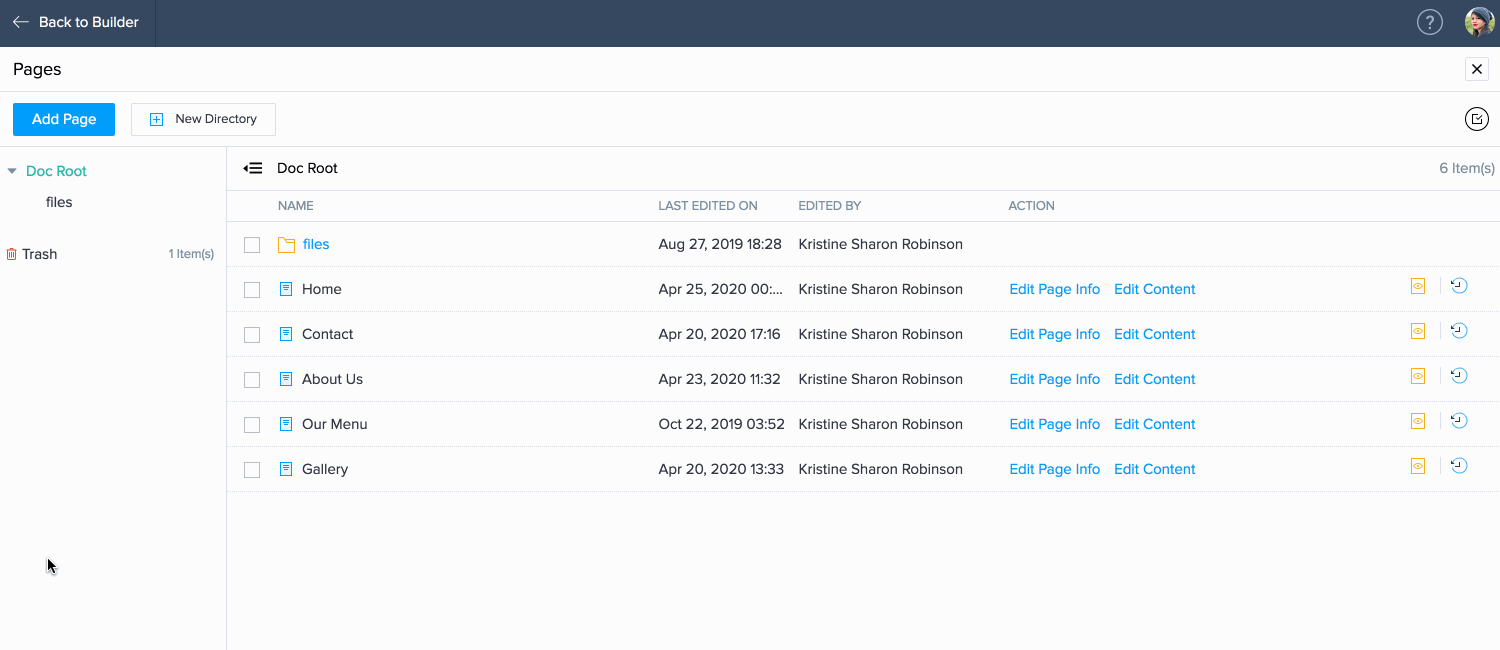
Edit Page Info
You may miss out on a few page settings while adding your page for the first time. If this happens, all you need to do is access the Edit Page Info option.
- Click Pages at the top of your builder.
- Click Edit Page Info to the right of the page that you would like to edit.
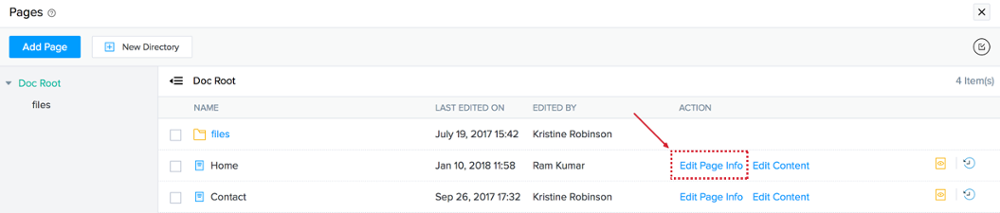
- Select a setting from the menus on the right and modify your page details.
- Click Save when you are finished.
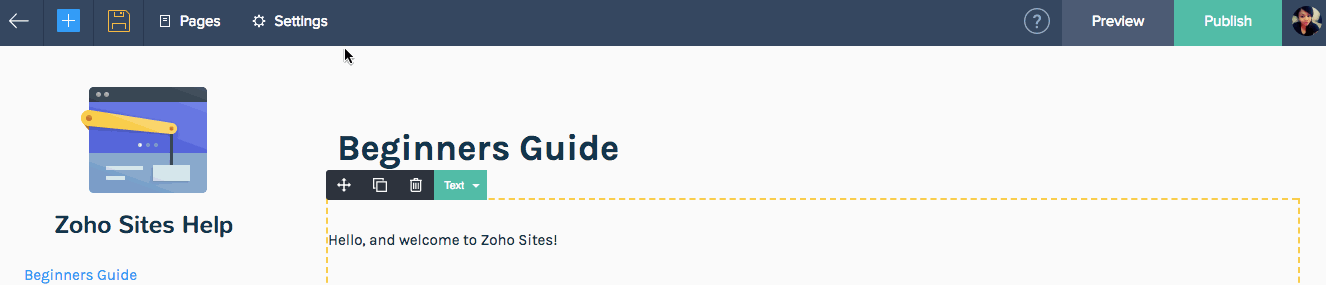
Edit Content
This will take you back to the builder where you can make visual changes to your content and design.
- Click Pages at the top of your builder.
- Click Edit Content to the right of the page that you would like to edit.

Page Versions
Every edited version of your page is saved and listed. Page versions are created whenever you publish or save manually. You can view various versions of your page and revert, even after you've published your site. Reverting comes in handy, especially when you accidentally delete content.

Note: The page versions feature is only available in the Pro plan of Zoho Sites.