
Register a Client with Google
To configure Social Login, we first need to create a client on Google. This document explains how to register a client in google.
Create a project:
- Head over to Google API and create an account using your email address.
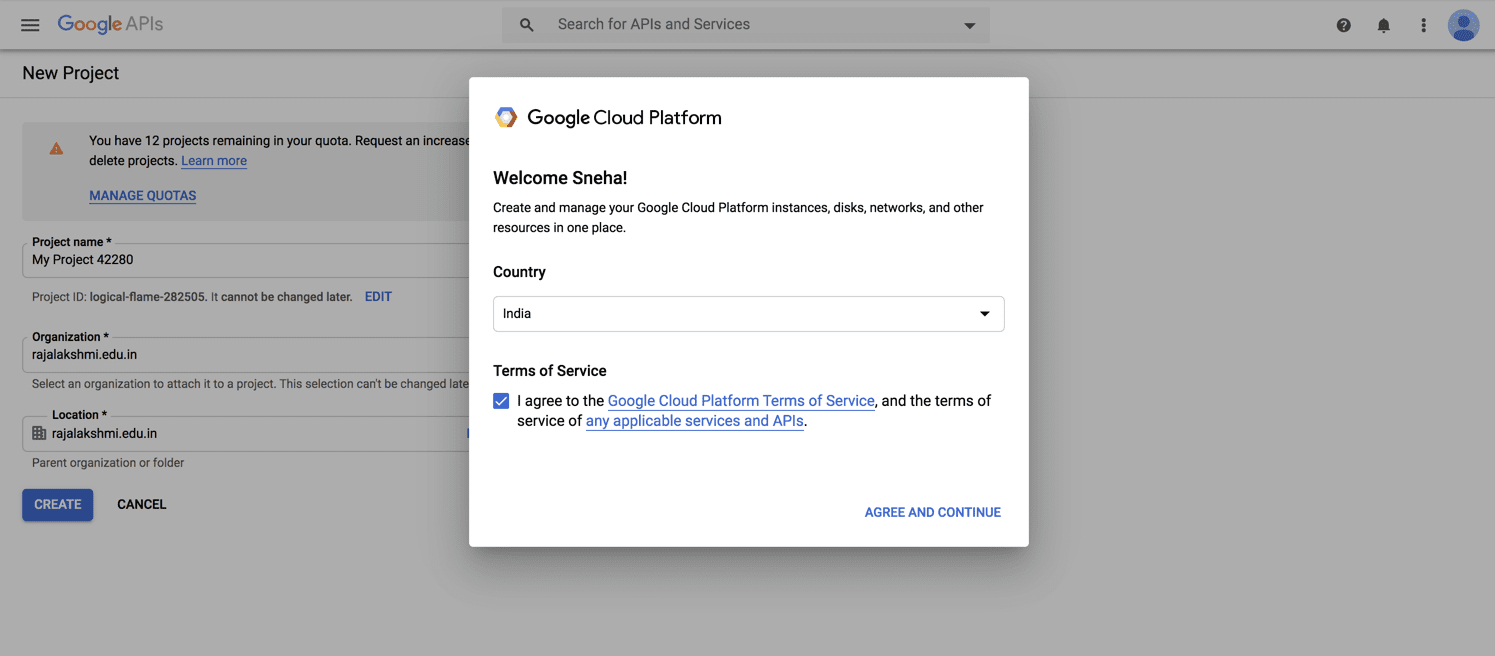
2. Click Agree and Continue to proceed.
3. Give your project a name and choose the organization that will be fetched automatically from your email address, if it's a corporate email address.
4. Click Create.
Getting Started:
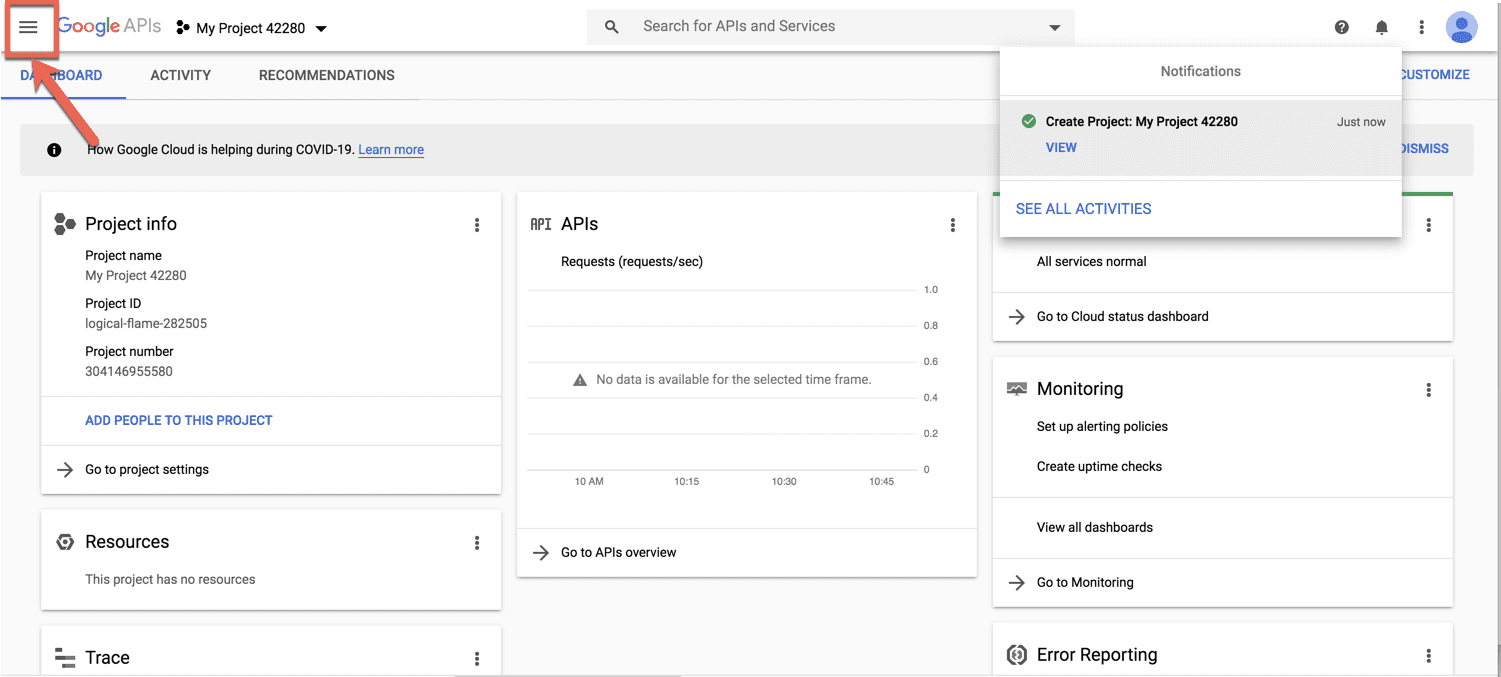
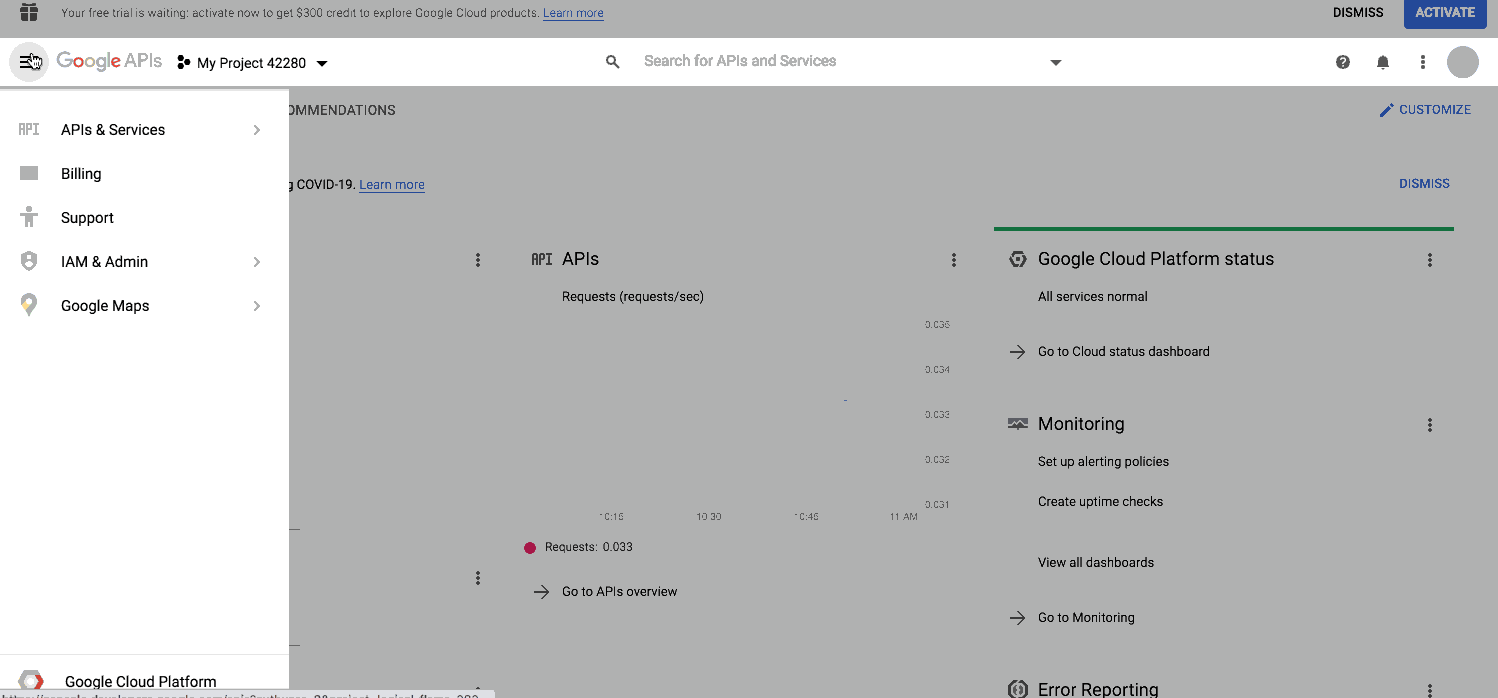
1. Project dashboard will be visible. Click the Navigation menu in the top-left corner of the dashboard.

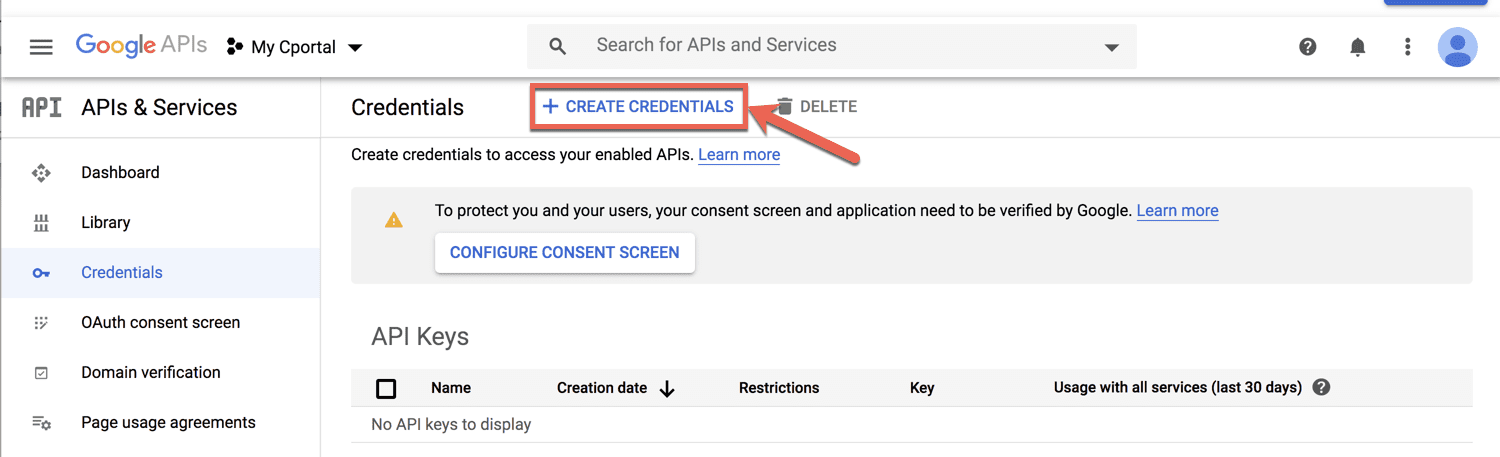
3. Click +Create Credential button at the top of the page.
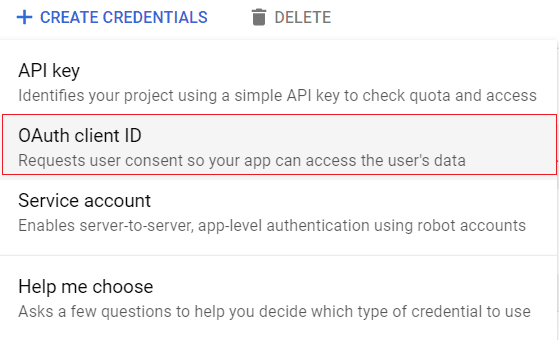
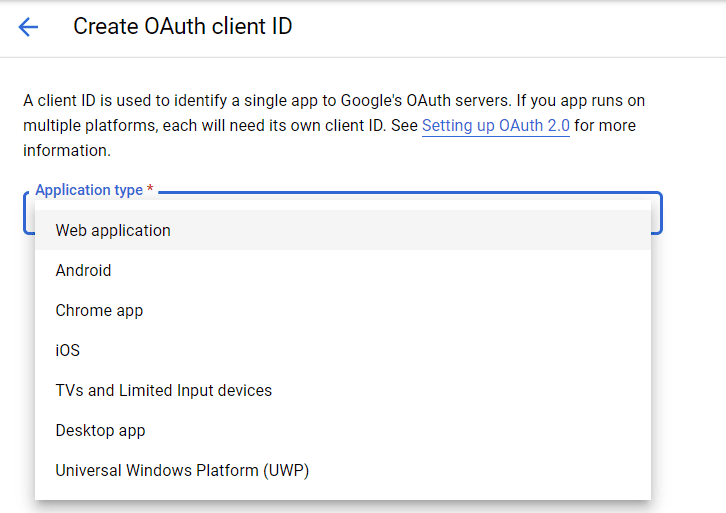
4. Select OAuth Client ID from the dropdown menu.
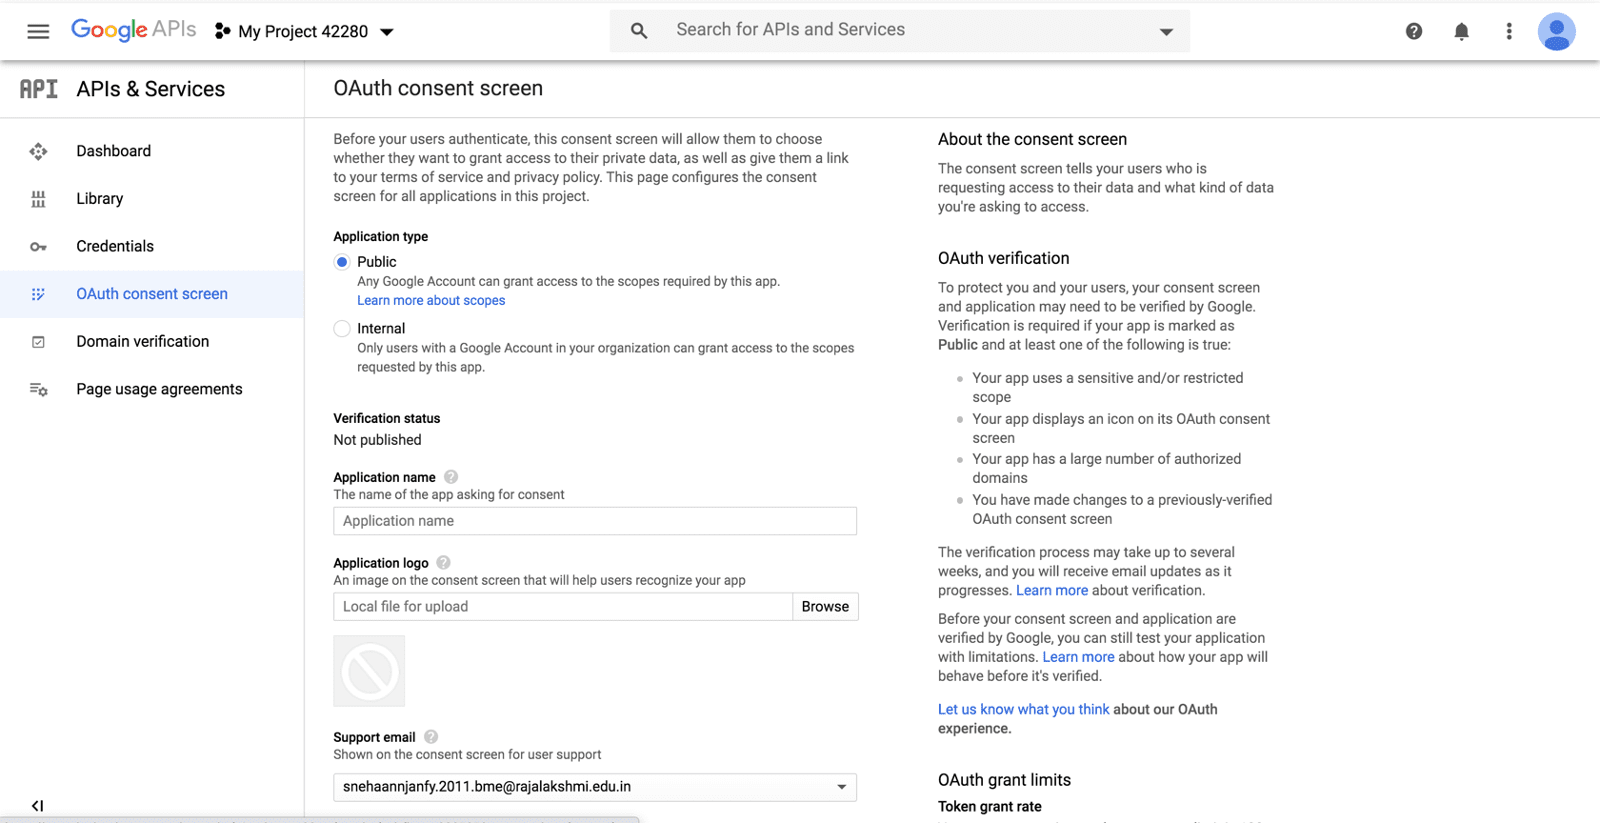
5. Click the Configure consent screen button. To create OAuth ID, a product name needs to be first set in the consent screen.

6. On the Consent screen, select the audience of your app. Choose Internal if the audience will only be from within your organization. Choose External if you want the audience to be anyone with a Gmail account.
7. Provide an Application name and Application logo. Provide a Support email that will be used for user support.
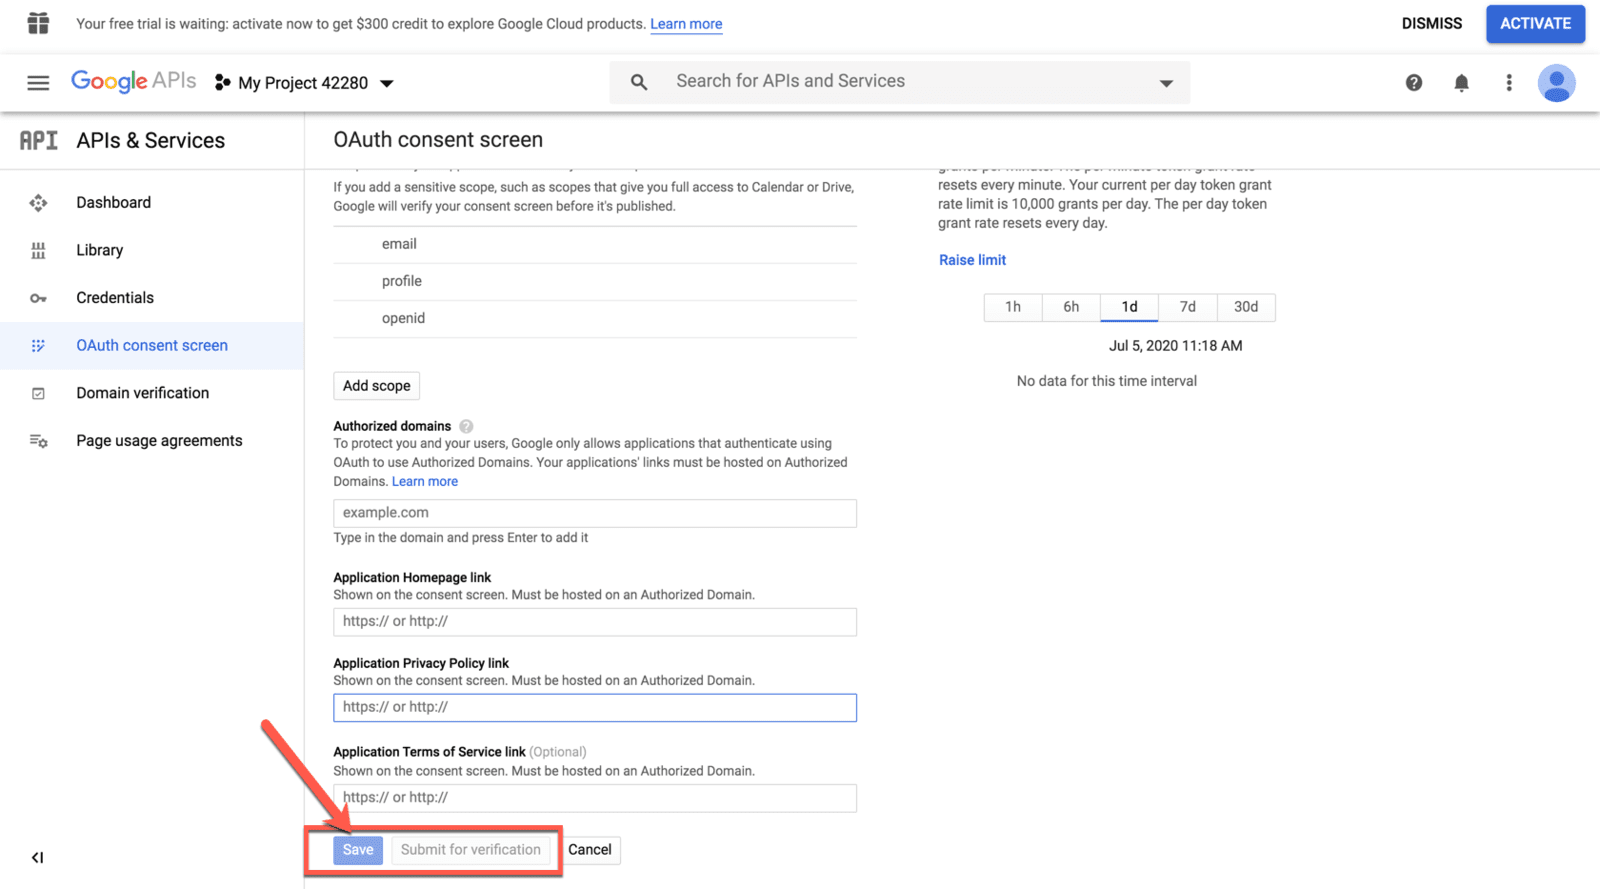
Note: After configuring the OAuth Consent screen, the credentials need to be generated for Client ID and Client secret.
Create OAuth Client ID
3. Enter Name as Web client 1. This will be used to identify the client in the console, and won't be visible to end users.
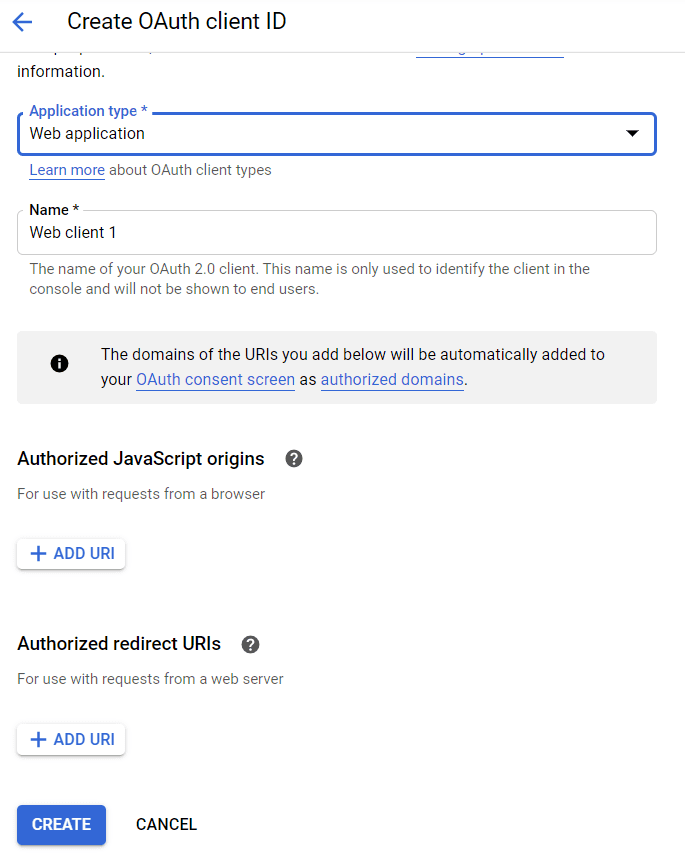
4. Enter URI. This is the same URI entered in the OAuth Consent screen as Authorized .
5. Enter Authorized redirect URI's. This should be the URI specified in your Zoho Sites UI.
6. Click Create. A client will be created and Client ID and Client Secret will be shown as below.
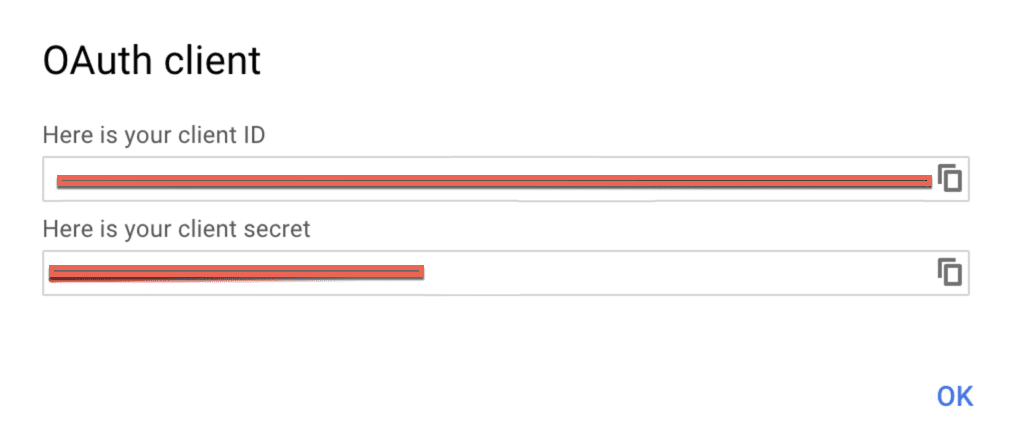
Note: Switch back to Zoho Sites and configure the federated login by using the Client ID and Client Secret copied from the Step 7 og getting started.